Magneto is an opensource Modern cloud amazing eCommerce platform. The language used to write is PHP in this platform, there is both a free and paid version. The Free version is named as Community Edition and paid as Enterprise Edition. In 2008 the first stable version of Magento is released and Adobe bought Magento for 1.68$ in May 2018. Magento2.3.1 Community Edition is current stable edition.
In this tutorial, I will present a detailed guide on how to install and configure Magento 2.3.1 on Ubuntu 18.04 With LAMP Server.
LAMP( Linux, Apache, MySQL, and PHP ) Stack is the most popular environment in PHP website development and web hosting. In this Linux is a Most popular Operating System, Apache is a Web server developed by Apache Foundation, MySQL is open source and Most popular relational database management system used for storing data Collections and PHP is the widely used Most common programming language.
Step 1 – Install Apache2
Let’s Begin the installation of Apache2 in our system. You May also required to install the libapache2-mod-php module to work PHP with Apache2.
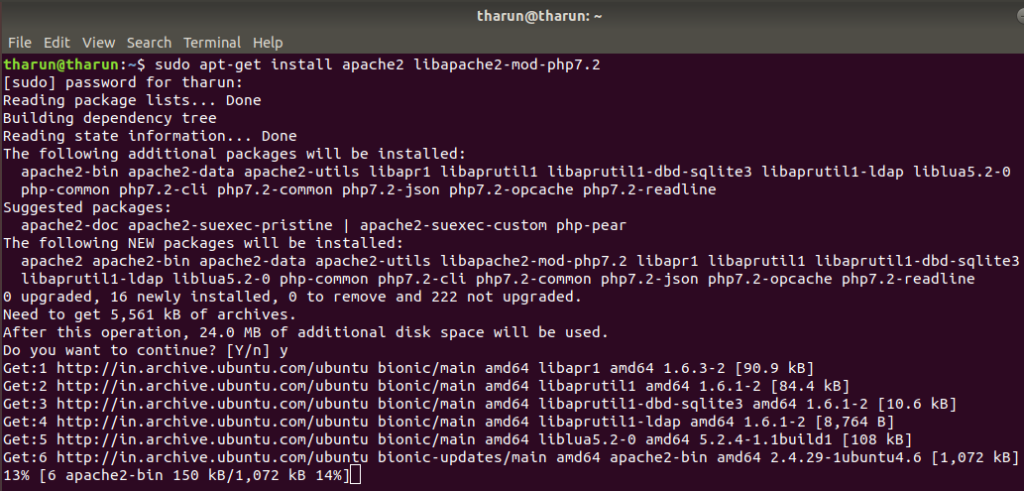
sudo apt-get install apache2 libapache2-mod-php7.2
Step 2 – Install PHP
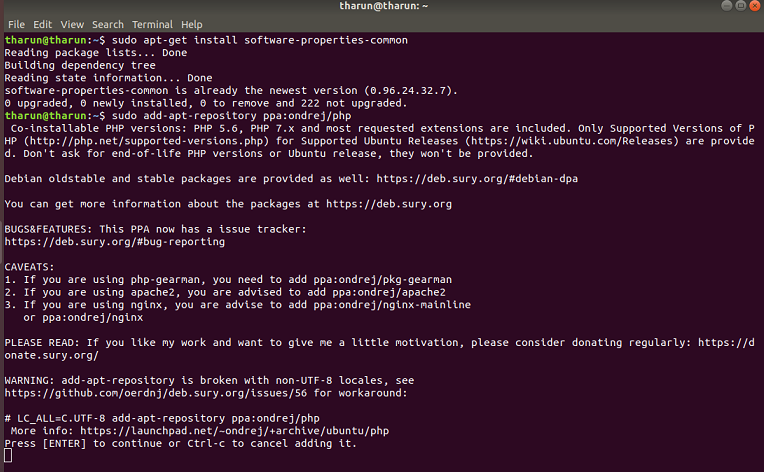
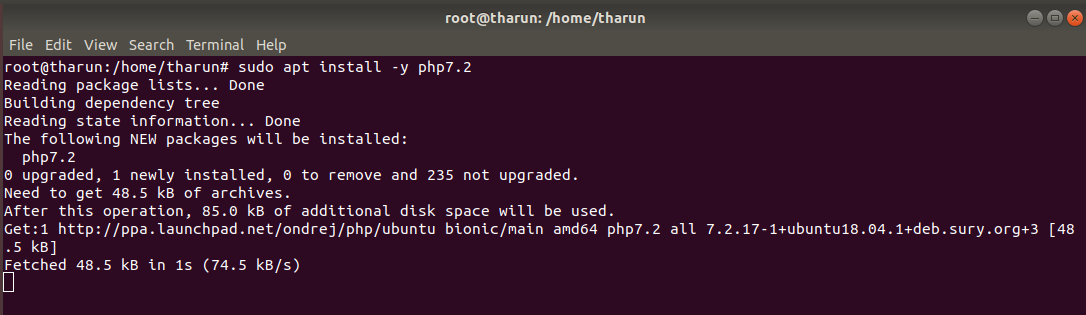
PHP 7 is the default available packages in Ubuntu 18.04 repositories. Simply We can use the following commands to update apt cache and install PHP packages on your system.
sudo apt-get install software-properties-common
sudo add-apt-repository ppa:ondrej/php
sudo apt-get update
sudo apt-get install -y php7.2
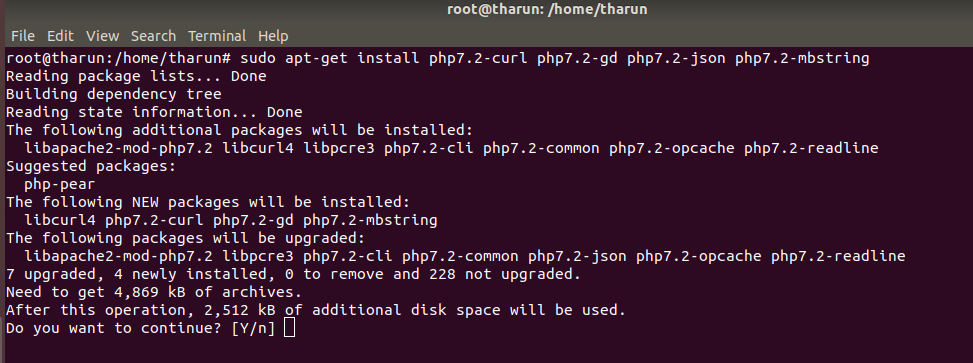
We may also need to install some additional PHP modules for supporting various tasks in Lamp Sever.
sudo apt-get install php7.2-curl php7.2-gd php7.2-json php7.2-mbstring
Step 3 – Install MySQL
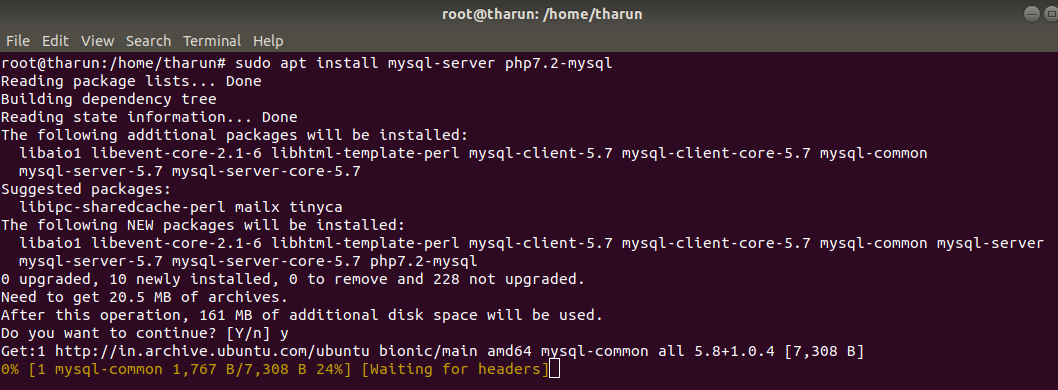
Finally, install mysql-server packages and also install the php-mysql package to use MySQL support using php
sudo apt install mysql-server php7.2-mysql
After this command the installer will prompt for the root password, This password will work for your MySQL root user. After installing MySQL by above command now execute the following command for initial settings of MySQL server.
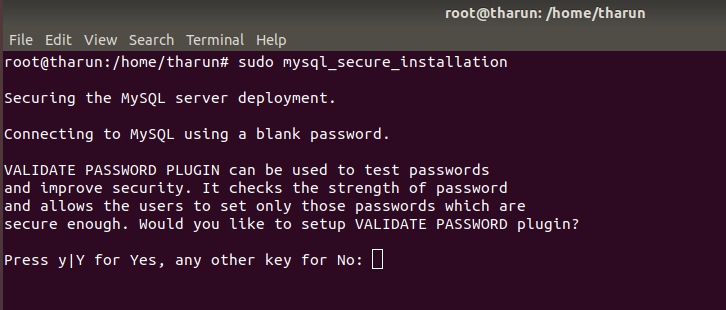
sudo mysql_secure_installation
Executing the above command, you will see that script will prompt for more settings than earlier MySQL versions like,
1. It Will Prompt like password validation policy
If you Press Yes means it will like these,
Press Y for Yes, any other key for No: Y
There are three levels of the password validation policy
LOW Length of Password = 8
MEDIUM Length of Password = 8 Letter numeric with mixed case, and special characters
STRONG Length of Password = 8 Letter numeric with mixed case, special characters and dictionary file
Please enter 0 = LOW, 1 = MEDIUM and 2 = STRONG
Estimated strength of the password: 100
If you try to give a password such root it will fail at password policy
The fail reason is the strength of a password is equal to 25, where Estimated should be 100.
After giving a proper password like Jampoo&*69
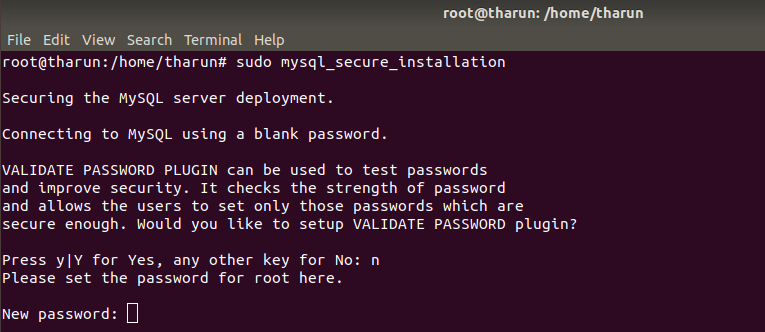
If You Press No means you can give any password it didn’t give any Errors.
I am Doing No for this Tutorial.
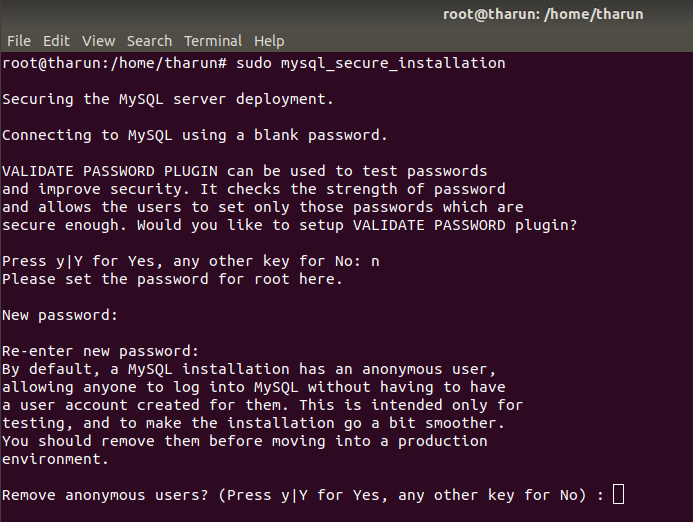
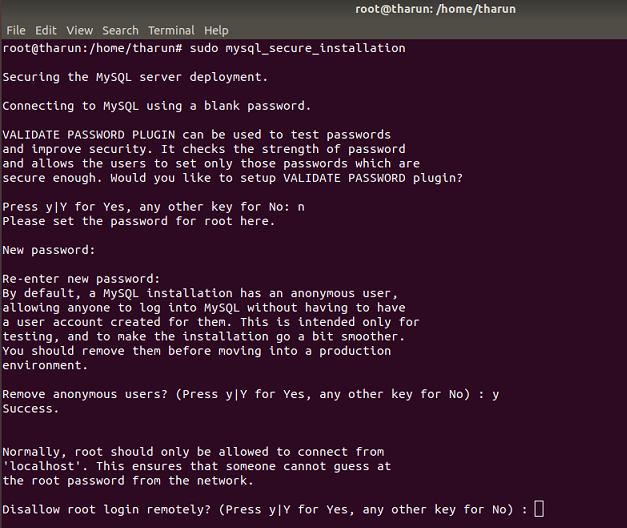
2. Remove anonymous users? (Press Y for Yes, any other key for No): Y
3. Disallow root login remotely? (Press Y for Yes, any other key for No): Y
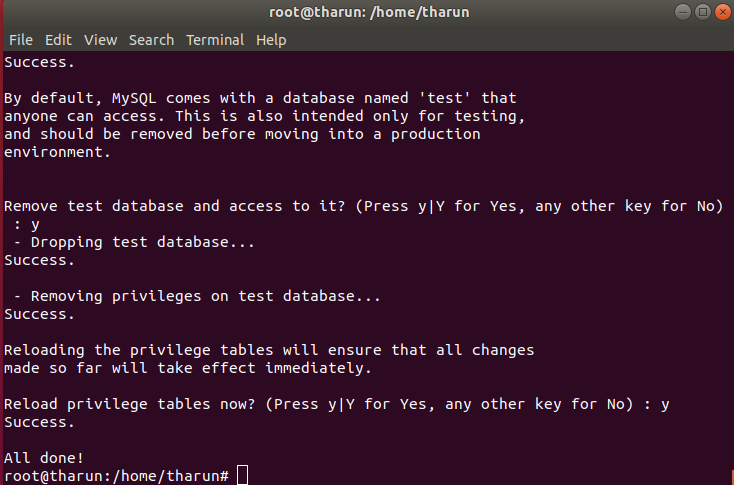
4. Remove test database and access to it? (Press Y for Yes, any other key for No: Y

5. Reload privilege tables now? (Press Y for Yes, any other key for No): Y
All done!
Note: How to Reset Mysql Database Root Password
Step 4 – Install Phpmyadmin
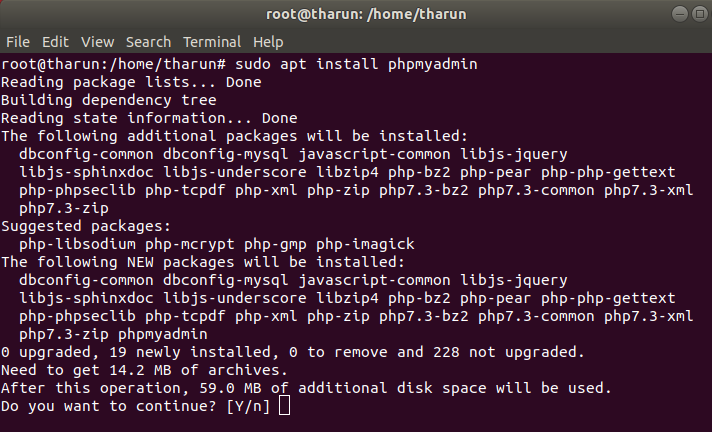
We can also install phpMyAdmin for the administration of MySQL using the web interface.
sudo apt install phpmyadmin
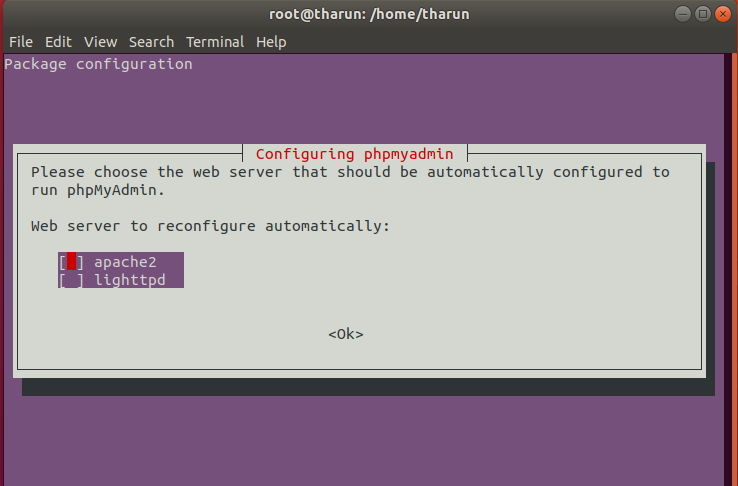

Click Yes and Provide Password For login Mysql database via PhpMyadmin
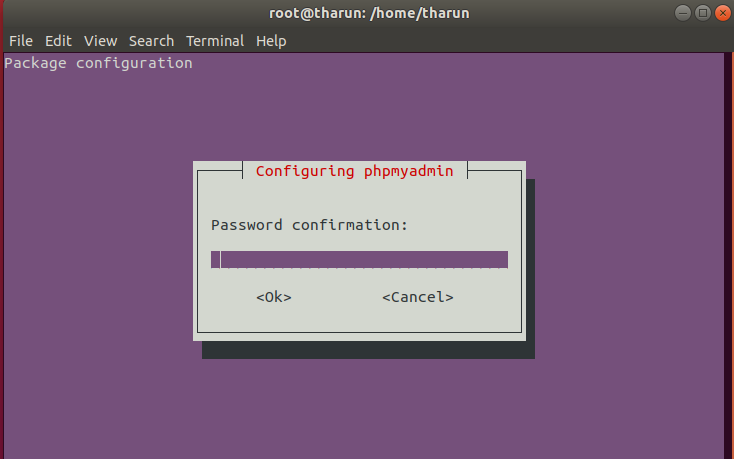
That’s it phpmyadmin configuration is over.
Step 5 – Restart Services
After installing all the services on our system. Restart MySQL and Apache service to reload all changes done manually.
sudo systemctl restart apache2
sudo systemctl restart mysql
If your System did does not configure in Firewall means you can skip the step 6.
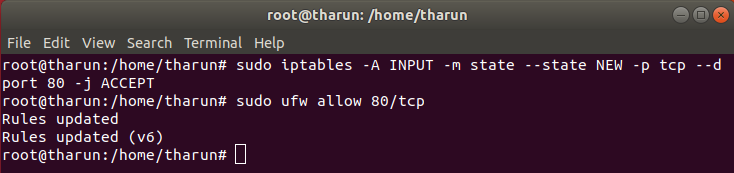
Step 6 – Open Access in Firewall
If You have systems with iptables/ufw are enabled, execute the following commands to open port 80 for public access of web server.
Iptables Users:
sudo iptables -A INPUT -m state --state NEW -p tcp --dport 80 -j ACCEPT

UFW Users:
sudo ufw allow 80/tcp
Step 7 – Test Setup
After completing all the setup. Let’s create an info.php file for website document root with the following content.
cd /var/www/html
nano info.php

Paste the below lines and save it by pressing ctrl+x and Y and enter in Nano Editor.
<?php
phpinfo();
?>

Now access this file in web browser http://localhost/info.php or http://192.168.1.69/info.php. You will see the screen like below with all the details of PHP on the server.
Congratulations! You have successfully configured LAMP Stack Server on your ubuntu 18.04 System.
Now it’s Time to Install and configure the Magento2.3.1 on our system.
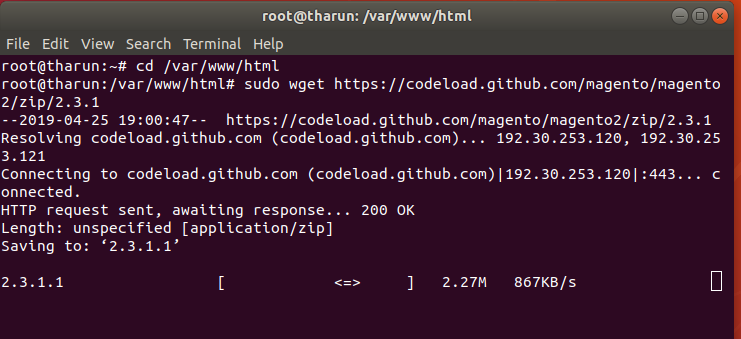
Step 1 – Download Magento 2 Archive
Download Magento2 community edition by using wget mentioned below if you don’t have wget means install using this command
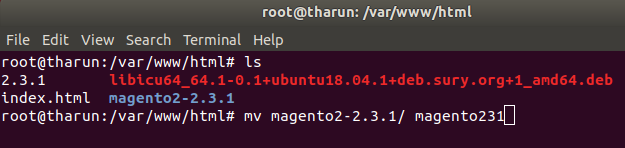
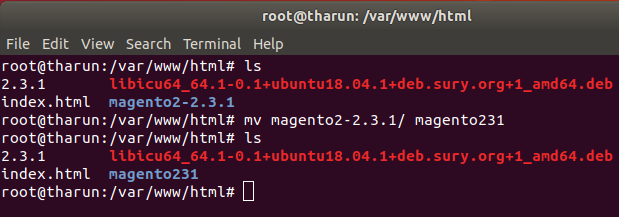
sudo apt-get install wget
cd /var/www/html
sudo wget https://codeload.github.com/magento/magento2/zip/2.3.1
sudo unzip 2.3.1
mv magento2-2.3.1/ magento231
sudo chmod -R 777 magento231

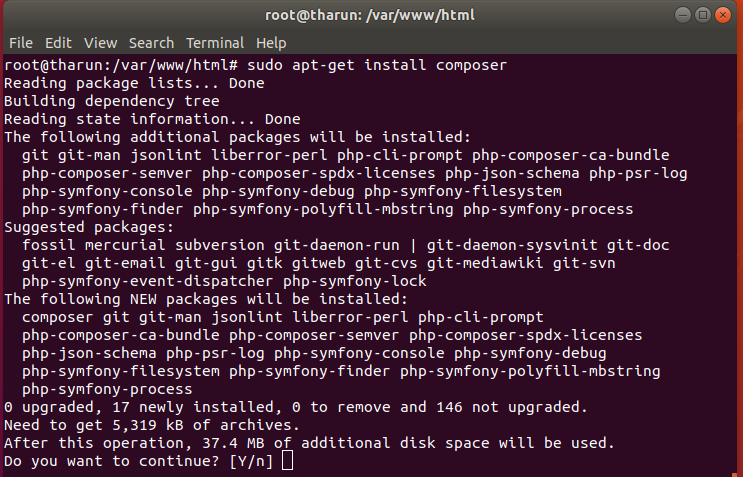
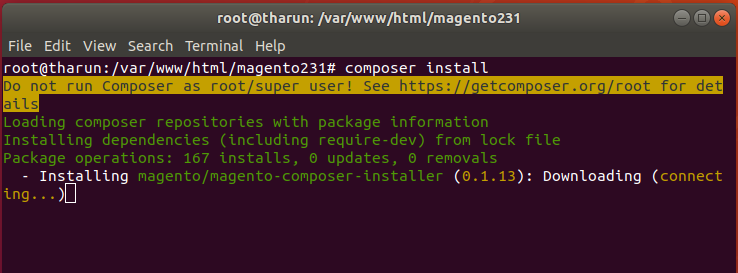
sudo apt-get install composer
cd /var/www/html/magento231
composer install
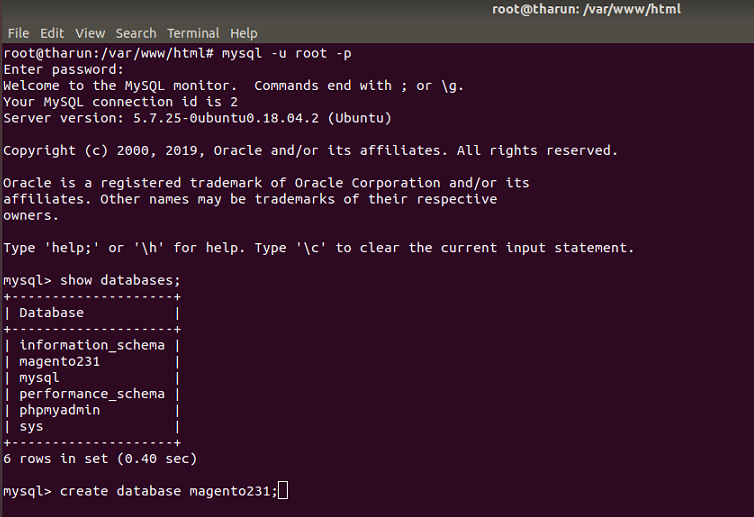
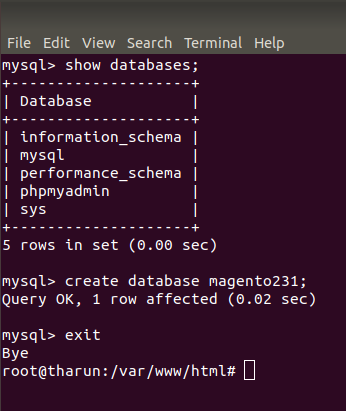
Step 2 – Create a MySQL Database
Now login to your MySQL server with admin privileges and create a database and user for new Magento 2.3.1 installation.
mysql -u root -p

mysql> show databases;
mysql> create database magento231;
mysql> quit
Step 3 – Run Web Installer
Now begin the installation of Magento2.3.1 by using web installer. Access your Magento 2.3.1 directory on the web browser like below. It will redirect you to the installation start page.
http://localhost/magento231/
or
http://192.168.1.175/magento231/
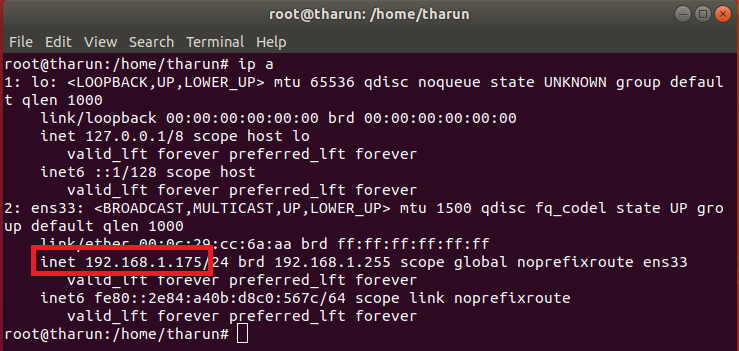
To Check, the IP put this command as Shown below
ip a
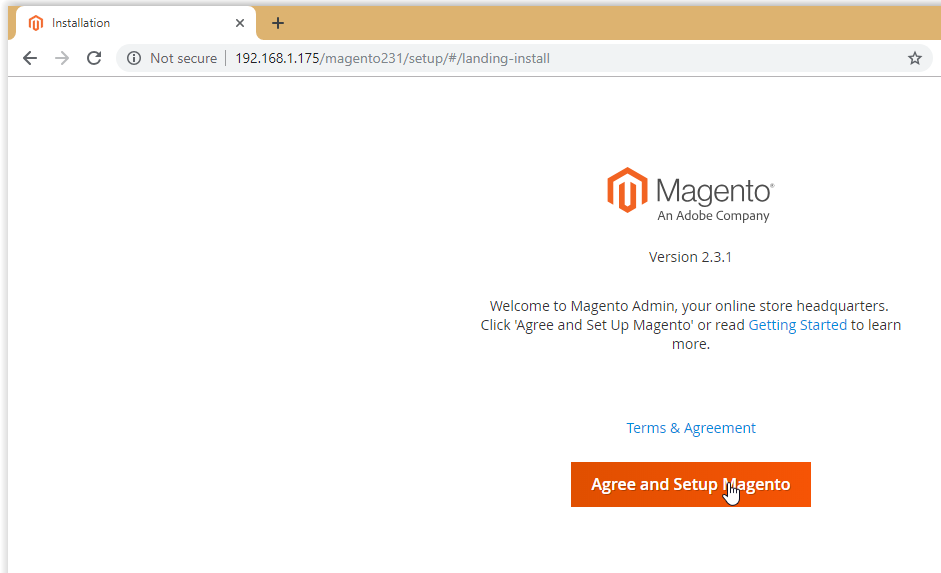
3.1. Agree to the License agreement and click on “Agree and Setup Magento”
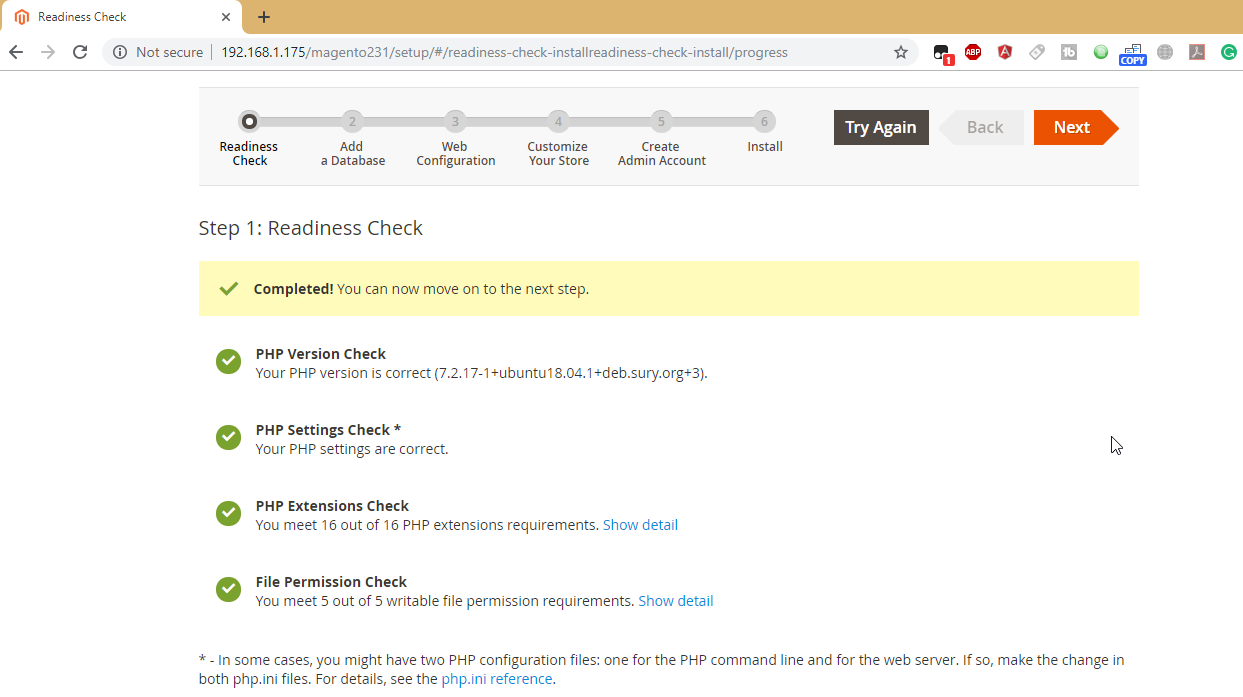
3.2. Now click on “Start Readiness Test”. Magento will check for system requirements here. On successful completion, you will see the screen like below then Just click Next. Fix issues if shows on this screen and click Try again.
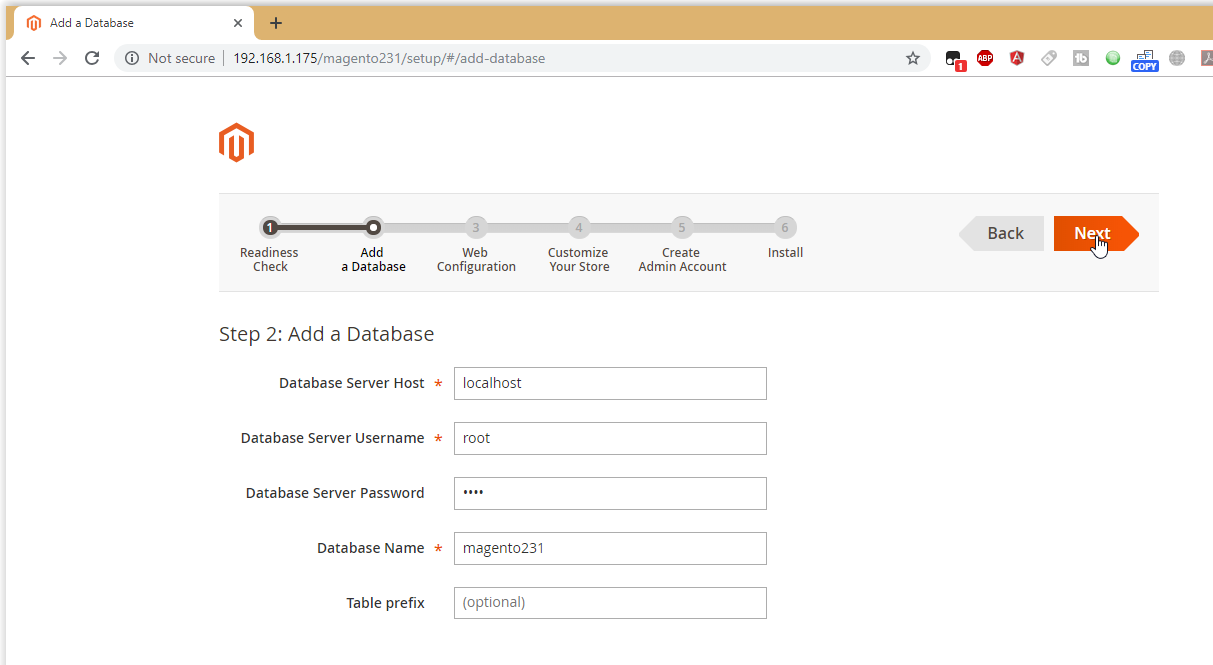
3.3. Enter your database details here created in step 2.
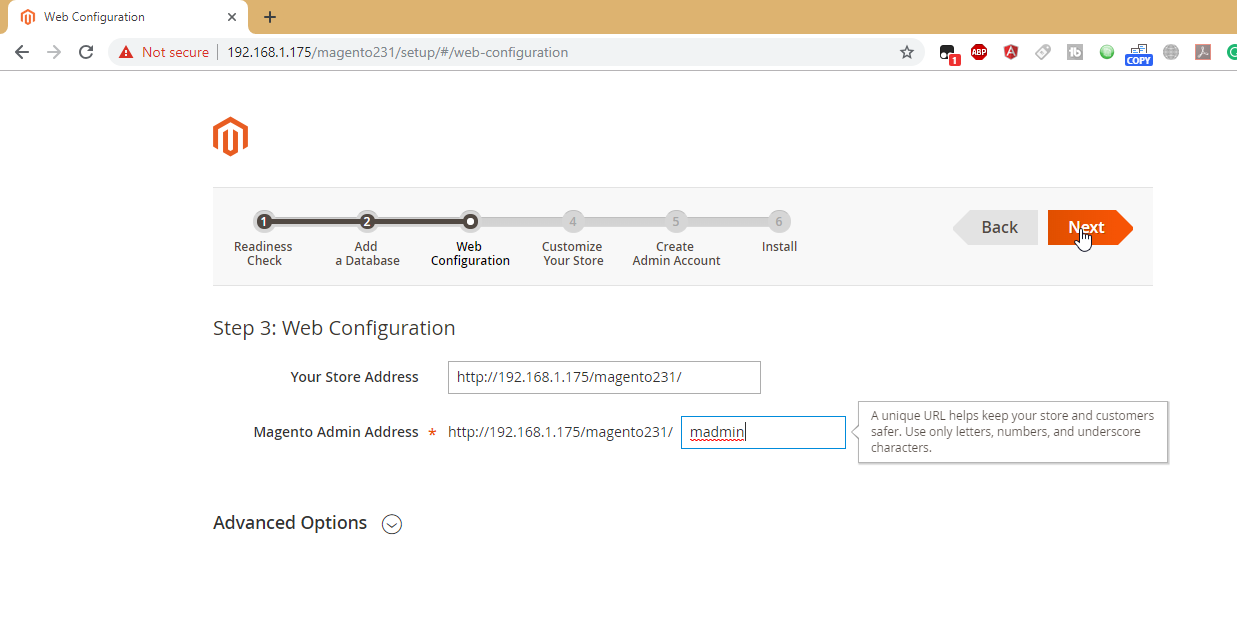
3.4. On this page configure the admin URL and website URL. For security reason it will not take URL as admin, that’s why I used madmin here. Now click Next.
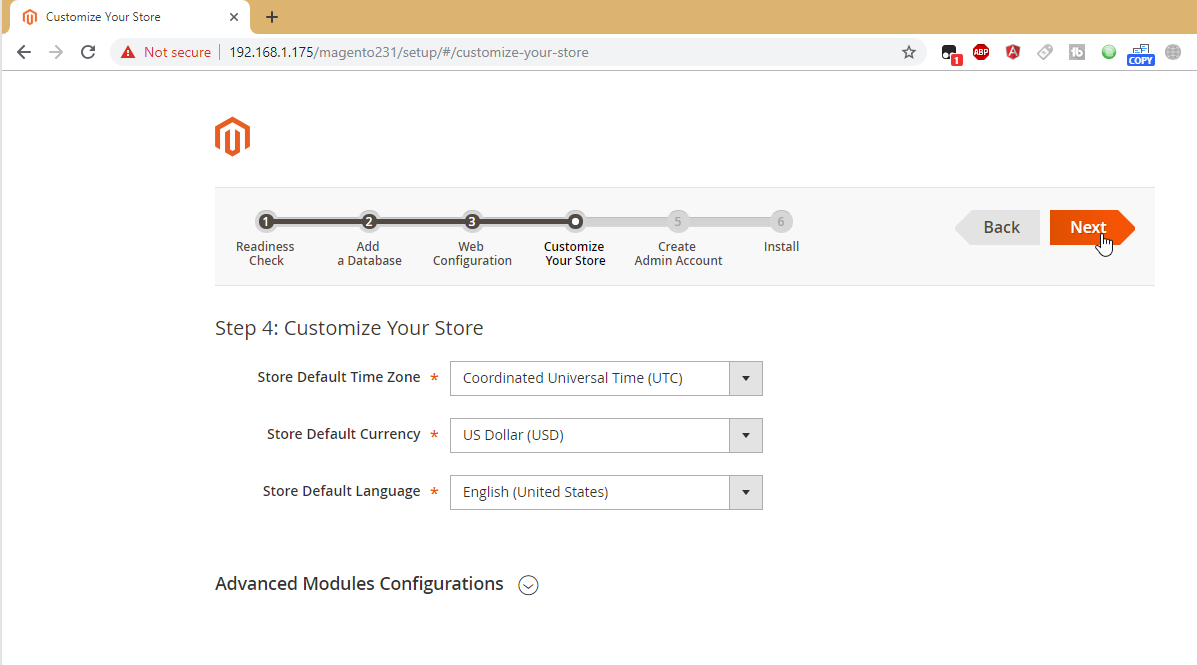
3.5. Set the preferred time zone, default currency, and default language as per your requirements.
3.6. Magento installation is completed. Now create an admin account for yours. remember these details for admin login in the future.

3.7. At this step, Magento is ready for installation. Now Click on the Install button to begin installation and wait for its completion.

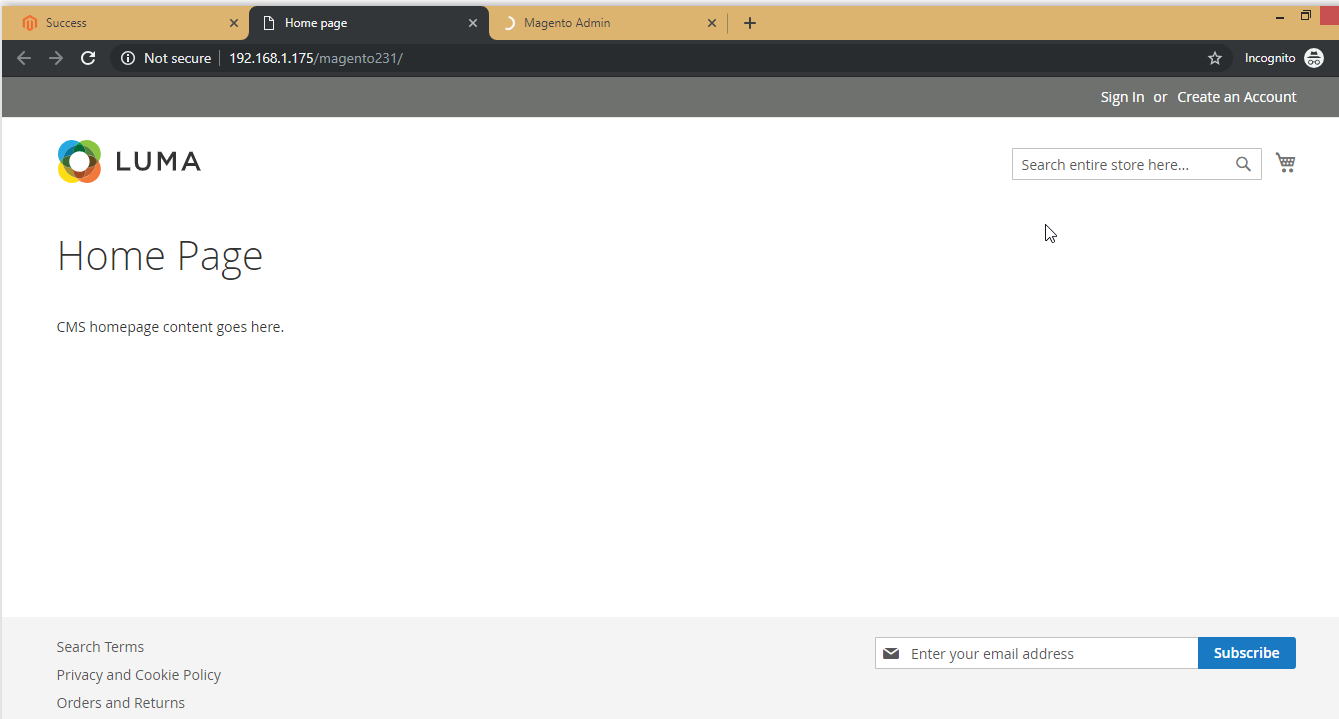
3.8. You will see a success message on this screen. Now just click on “Launch Magento Admin”

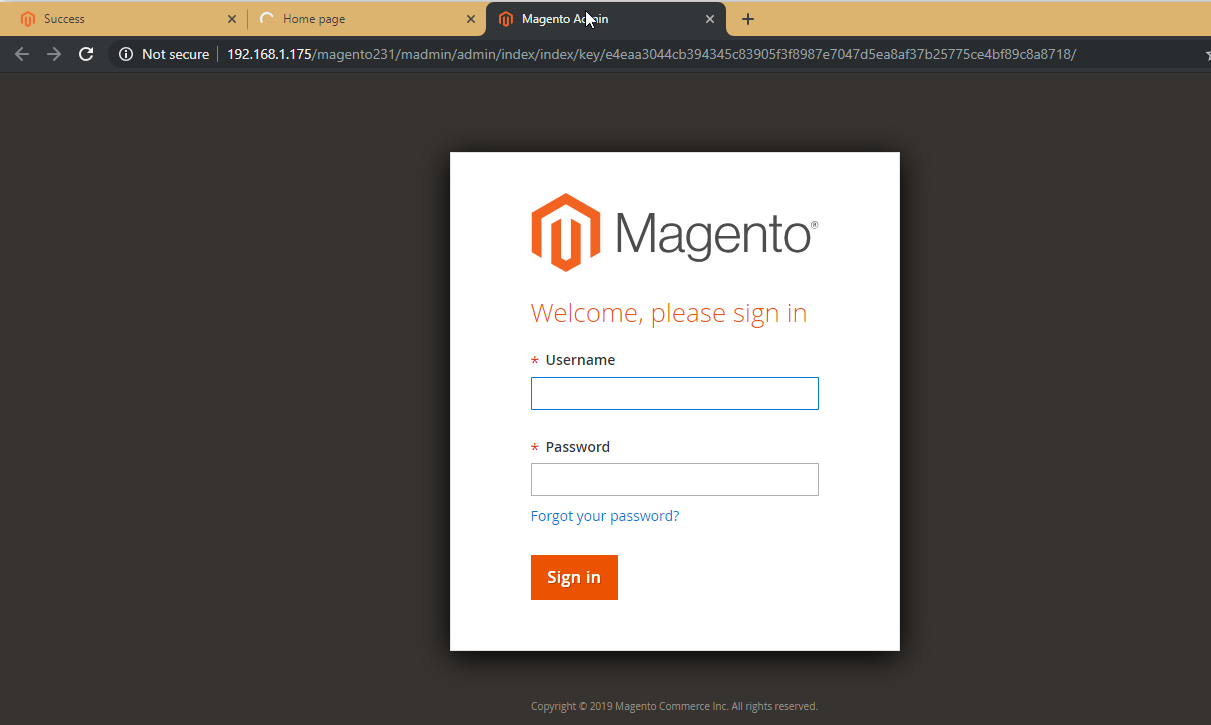
3.9. Finally, it will open the Admin Login screen. Use admin credentials to log in on this screen. It will open the Admin panel after successful authentication.
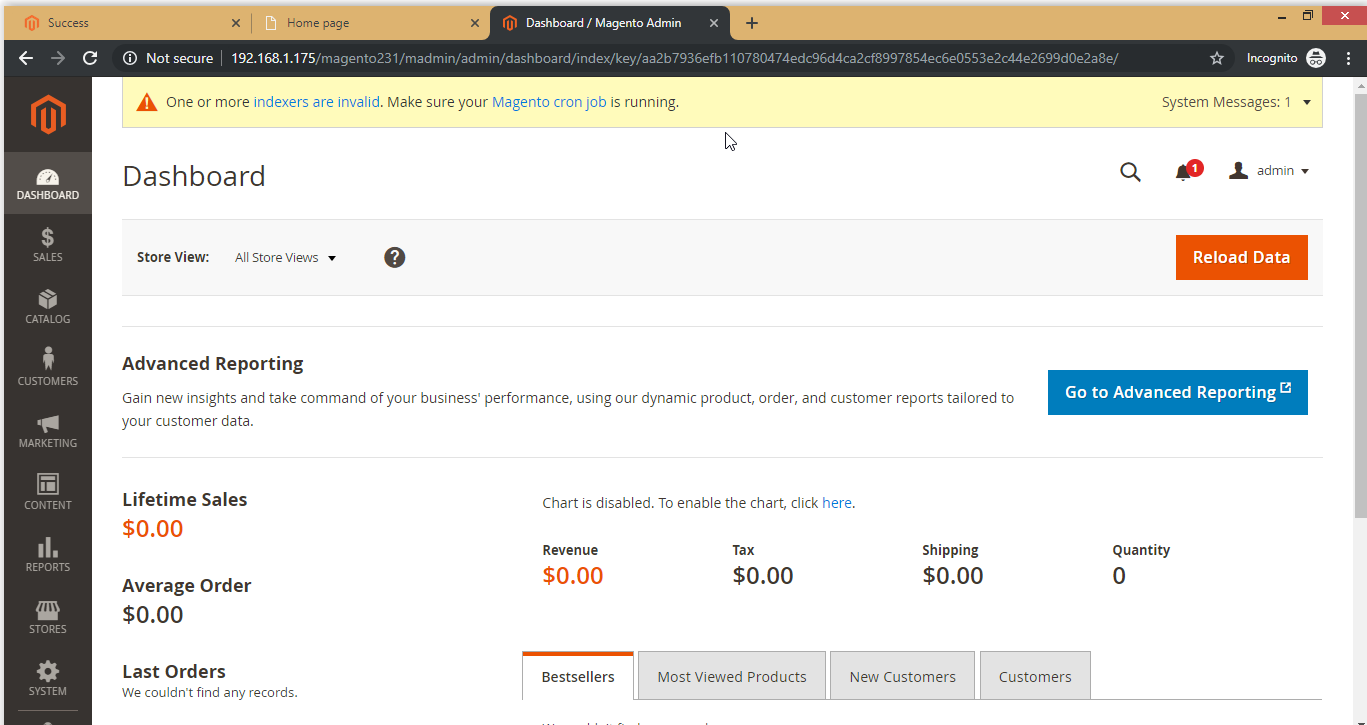
4.0. Congratulation! You have successfully deployed Magento2.3.1 on your system.